Choose Appropriate Backpack

Picking the ideal backpack is essential before beginning the packing procedure. For packing a backpack, you should go for a backpack that blends practicality and aesthetics.
- Capacity: A 20–30-liter day pack should work well for day hikes. A 40–70-liter pack is a good option for hikes lasting one or more days.
- Fit: Make sure the backpack (with an adjustable shoulder strap) fits snugly around your body.
- Features: Look for features like a pack cover, external compartments, and compatibility with hydration bladders.
Arrange the Gear
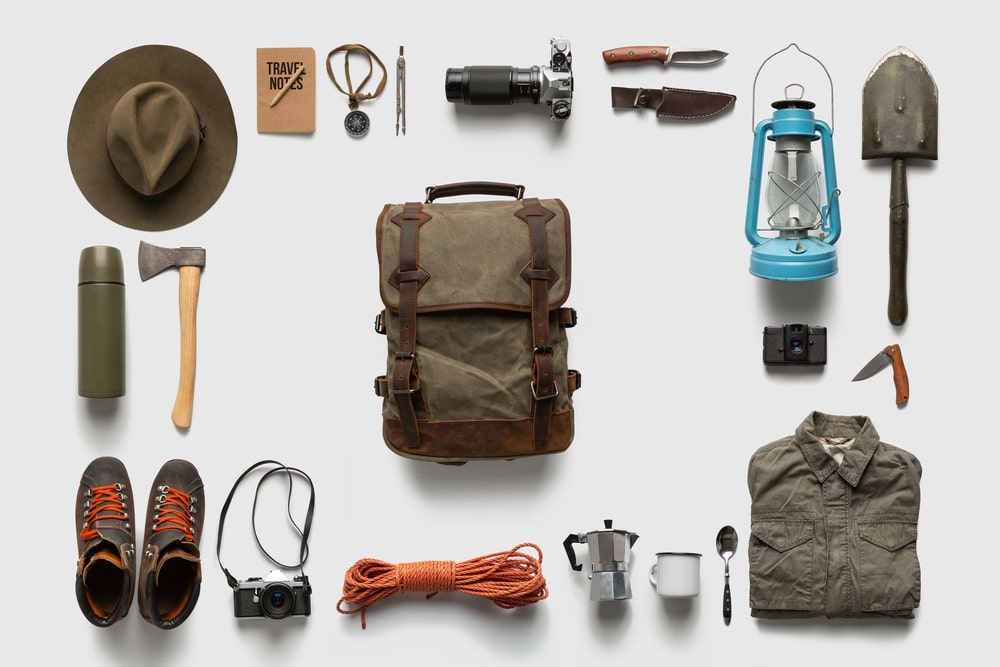
The second step in how to pack a hiking backpack is setting up the gear. By gear, I mean everything that you might need for a successful trip, from a hiking watch to a compass from water bottles to snacks, etc.
Here is the checklist for backpacking gear:
- Essential Gear: A headlamp, a multitool or knife, a fire starter kit, a compass, a GPS, and navigational tools.
- Clothes: Extra socks, a hat, gloves, and a system of layered clothes (base layer, insulation layer, and waterproof layer).
- Water and Food: Bring enough food to last the whole hike, water bottles, a hydration bladder, and a water filter.
- Shelter and Sleeping Gear (for overnight hikes): Tent, sleeping bag, and sleeping pad.
- Other items: A camera, hiking poles, and personal goods such as toilet paper, sunscreen, and bug repellent.
Packing Strategy
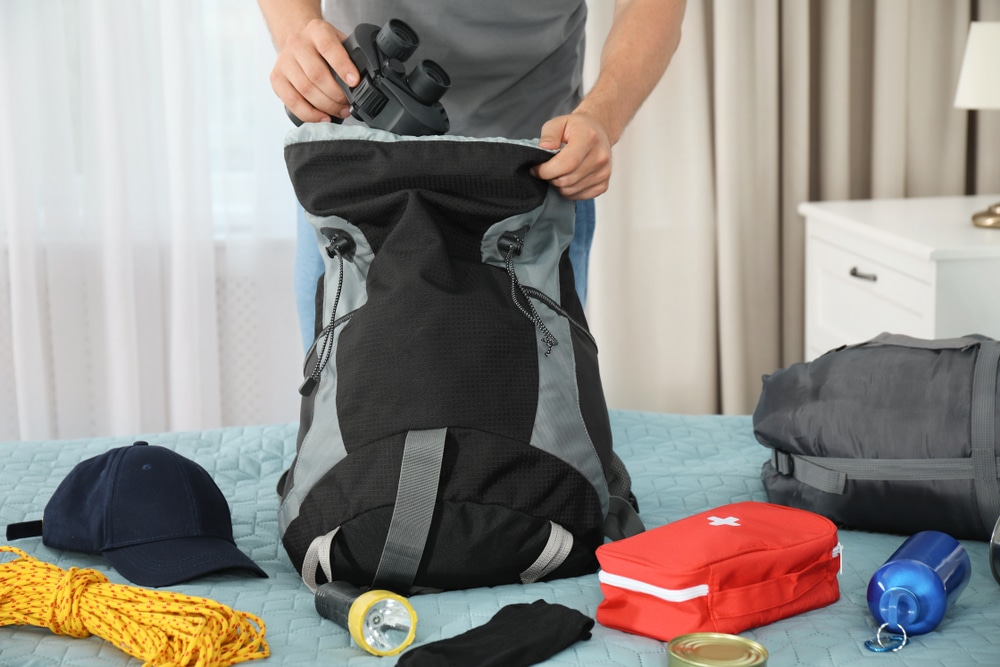
Done with sorting the needed gear? So, let’s move toward the third step of packing a backpack. This involves coming up with a strategy to stuff everything in order. A well-designed backpack relies on accessibility and balance.
Follow the strategies below to pack your backpack:
Bottom of the Backpack
- Sleeping Bag: Arrange your sleeping bag next to the pack’s bottom components. It is typically the last item you need to access during the day and offers a stable base.
- Sleeping Pad: If the sleeping pad is attached to the outside of your pack, you can strap it on. If not, set it beside the sleeping bag.
Middle of the Pack
Making the most of the middle of the bag is important to learn how to pack a backpack efficiently.
- Heaviest Items: Stow the heaviest items in the middle of the pack, close to your back, including your cooking supplies, tent, and food cache. This keeps your center of gravity stable.
- Clothing: Tuck your clothing around these heavier items to fill up spaces and maintain a balanced weight.
Top of the Pack
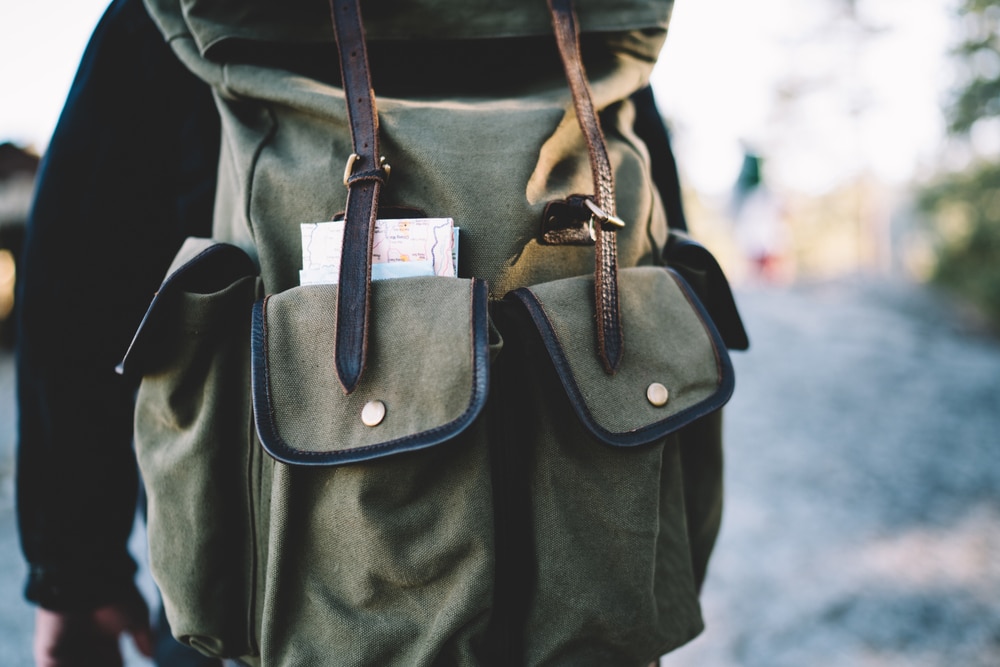
When learning how to pack a backpack, you must take care of items that are to be used more frequently, like food items, a compass, a first aid kit, etc.
- Frequently Used Items: Organize your rain jacket, food, and first aid kit at the top, where you need to reach for them most often.
- Tools for Navigation: Ensure that your map, compass, and GPS are easily accessible by keeping them in external pockets or at the top of your pack.
External Pockets
These pockets are known for storing teeny tiny stuff when learning to pack a backpack for hiking.
- Water: Use a hydration bladder with a tube for convenient access, or store water bottles in the side pockets.
- Adjustable Items: Put supplies like sunscreen, bug repellant, and your headlamp in the external pockets.
Hip Belt Pockets
These pockets are life savers for even smaller items because they make access to those really easy.
- Small Essentials: Store tiny necessities such as your phone, snacks, and lip balm in the hip belt pockets.
Packing Tips
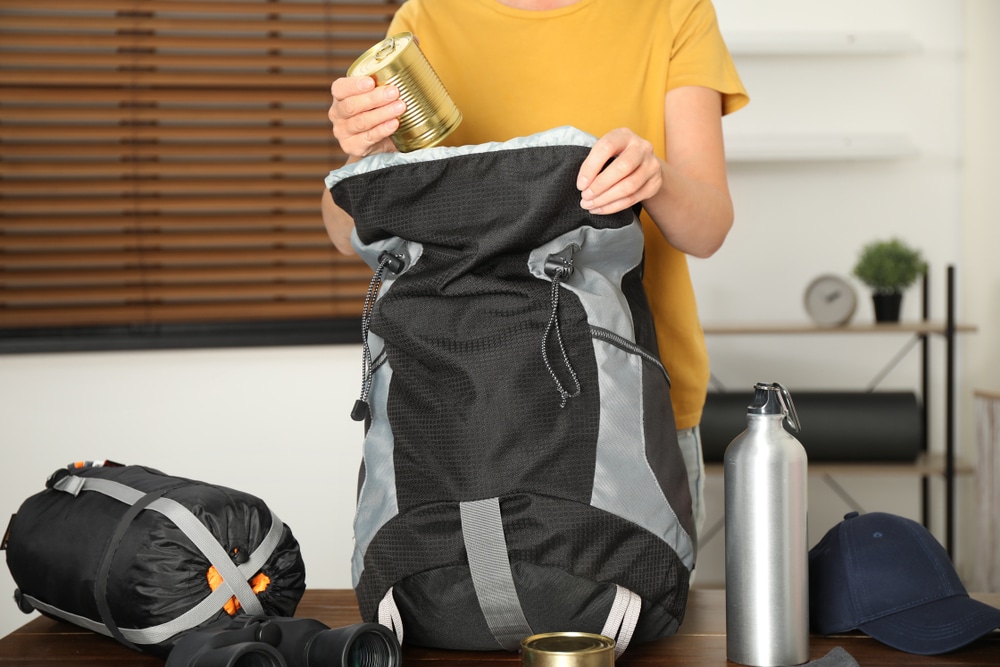
When packaging some equipment, extra care must be taken:
- Tent: If your tent is too large to fit in the center of your rucksack, you can separate the components. While the tent body is inside, store the poles and stakes in an outer pocket or attached to the outside.
- Cooking Equipment: To conserve space, nest your cooking pots and keep your stove and fuel canister inside them.
- First Aid Kit: Make sure your first aid supplies are within easy reach in an emergency. Either an external bag or a top pocket is useful.
Weight Distribution
A balanced weight distribution is essential to preserving stability and minimizing strain when learning to pack a backpacking pack:
- Center of Gravity: Keep the heaviest items centered and close to your back to maintain your center of gravity.
- Side Pockets: To keep your pack from pulling to one side, evenly distribute your weight inside the side pockets.
- Adjust Straps: To distribute weight throughout your body appropriately, adjust your hip belt, load lifters, and shoulder strap.
Be Ready for Changing Weather
On the path, the weather might change rapidly.
Consider the following factors when packing:
- Rain Gear: The first thing to do is to make sure your rain cover and jacket are always close to hand. Using a pack cover keeps water out of your pack and its contents.
- Layering System: Make sure you pack a system of layers that will let you adapt to shifting temperatures. Add a warm jacket in case it gets chilly at night or in the morning.
Safety Items
Safety has to come first when packing your stuff.
- Emergency Shelter: Bring an emergency shelter, such as a space blanket or bivy sack, even for day hikes.
- Excess Fire Starters: Keep a lighter, fire starters, and waterproof matches with you.
- First Aid Package: When designing your first-aid package, consider the length and complexity of your hike. Include bandages, blister cures, disinfectant wipes, and any prescription drugs you might be taking.
However, if you want to learn more about backpacking with a step-by-step tutorial, below is the link:

Evaluate and Adjust
Before heading out on the trail, make sure your backpack is completely loaded.
- Short Walk: To evaluate the weight and comfort, take a quick stroll around your house or neighborhood.
- Adjust Fit: Adjust the weight distribution and straps as needed.
- Repack if Needed: Don’t be afraid to repack and reorganize objects if something seems strange or uncomfortable.
On the Trail
To ensure a pleasant trek, stick by these tips while on the trail:
- Remain Hydrated: Use your filtration system to refill water bottles at dependable sources on a frequent basis.
- Snacks: To sustain your energy levels, keep snacks close at hand.
- Rest Breaks: Take regular pauses to eat, drink water, and adjust your pack.
If you want to get insights about how to pack for long-distance hiking, check out this article.
Conclusion
Summing up, the article covered a detailed discussion on how to pack a backpack with efficiency and ease. Following the above-mentioned guide, you can come up with a strategy that works best for your backpack. So, do you want your next excursion to be seamless and stress-free? Why wait when you can do this with ease? Pack your bags, tie your laces, and get ready for a memorable hike.

